
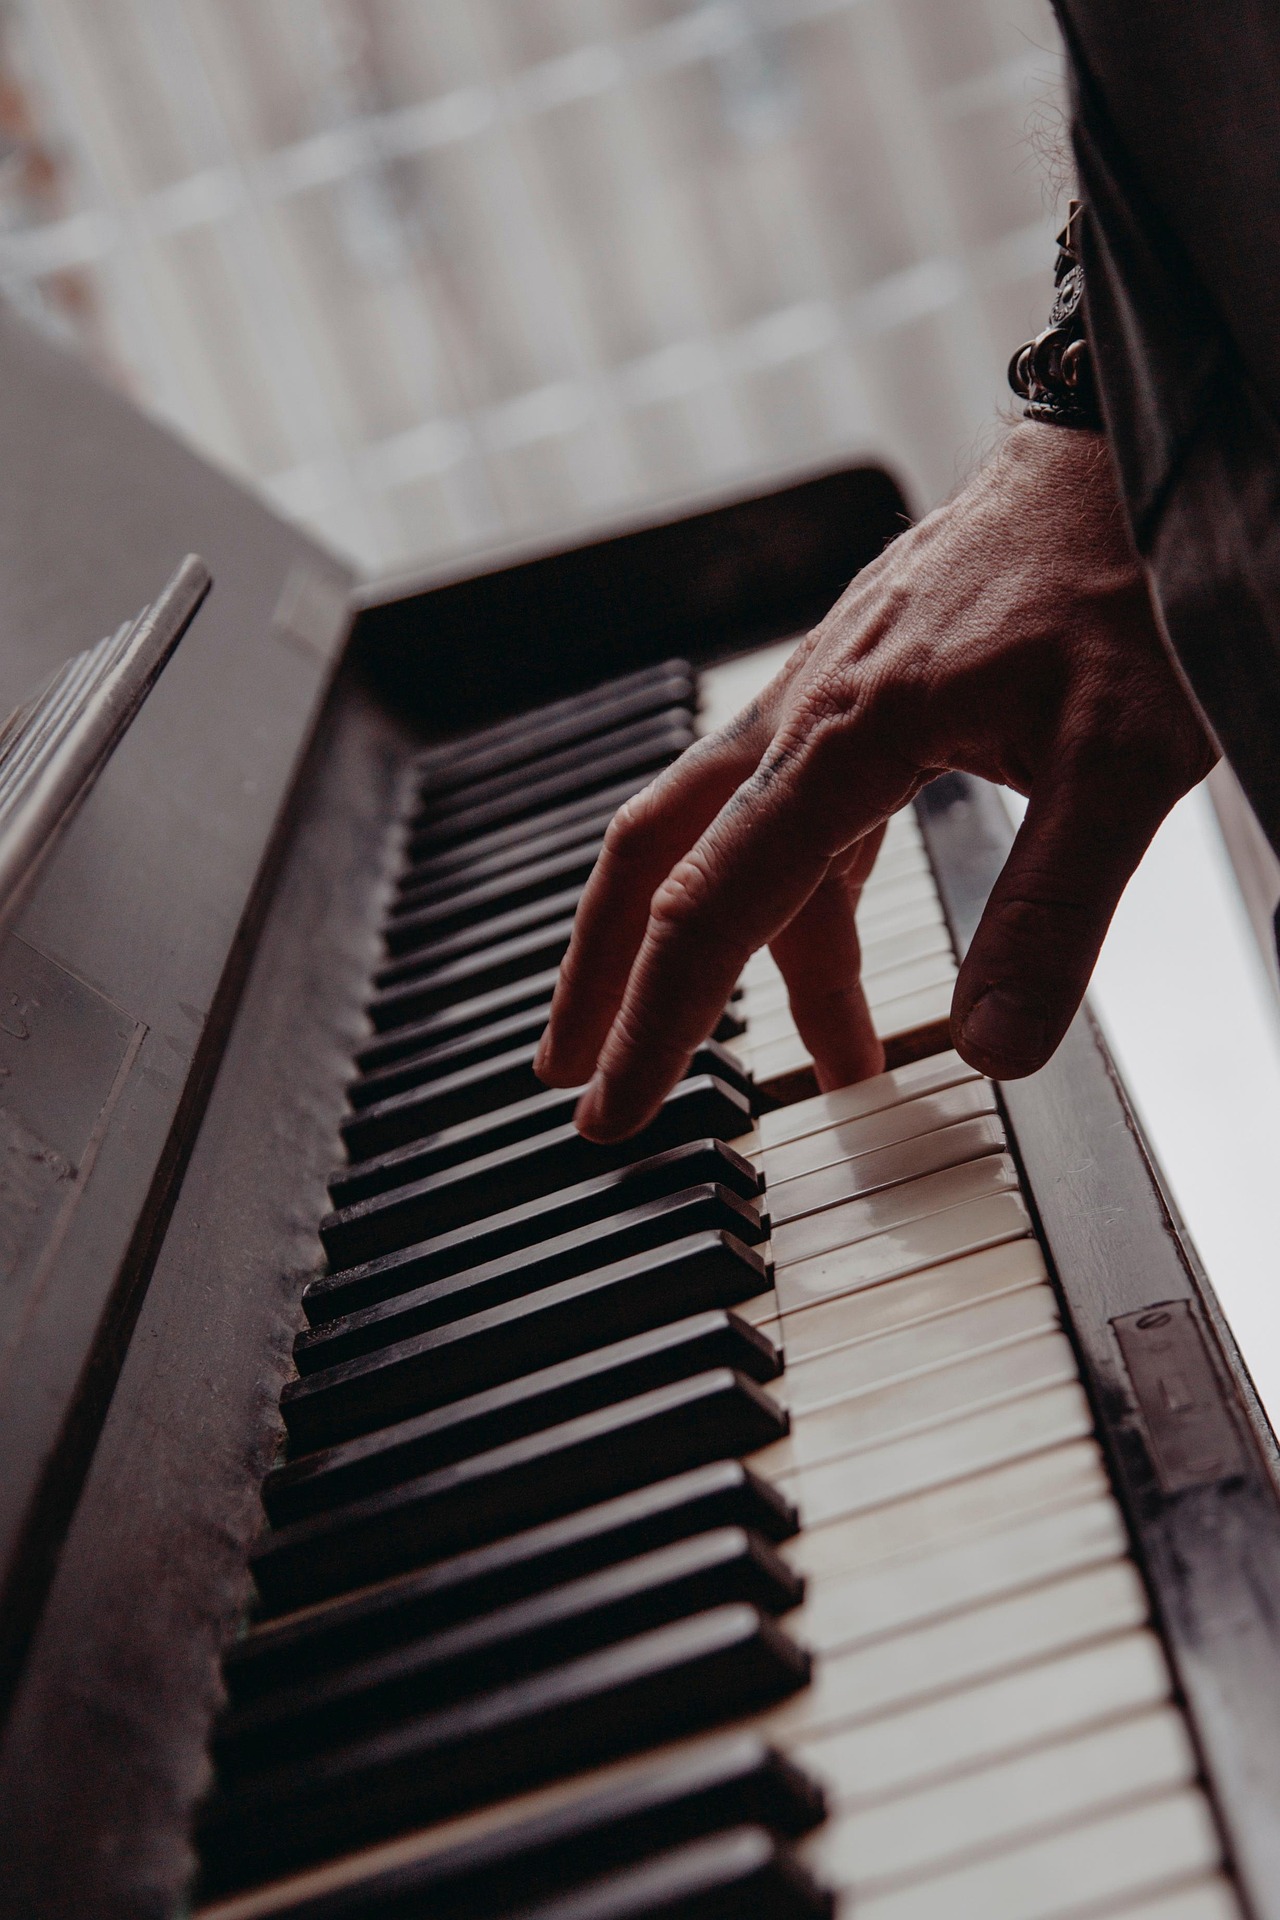
Hand position is one of those things that sounds fussy until you understand why it matters. The way you hold your hands on the keys directly affects how fast you can play, how accurately you hit notes, how much control you have over dynamics, and whether you’ll develop tension or pain over time. Get it right early and everything else gets easier. Get it wrong and you’ll spend months correcting a bad habit.
Here’s what correct hand position actually looks like — and the common mistakes to avoid.
The “Resting Egg” Shape
The most useful mental image for beginner hand position is imagining you’re holding a small egg in each hand. Your fingers should curl naturally, creating a rounded arch — not flat like you’re pressing a button, and not sharply bent like you’re gripping something tightly. The key joints (the knuckle joints at the base of your fingers) should be elevated, forming a dome shape.
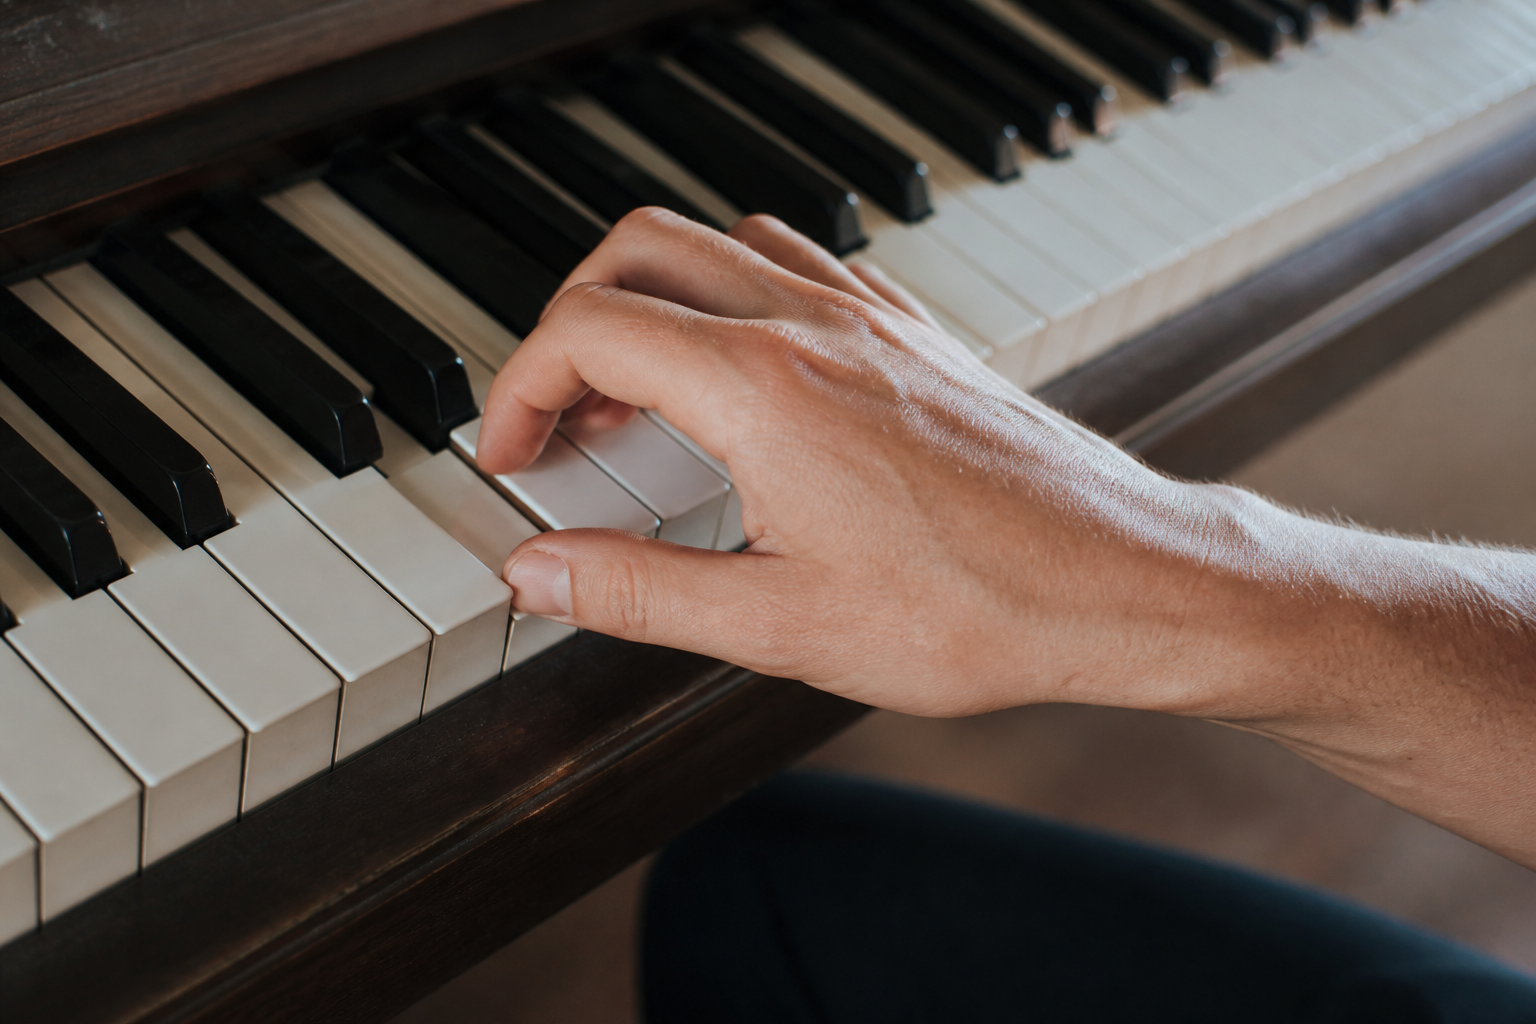
This curved position serves several purposes: it keeps your fingers springy and responsive (flat fingers are sluggish), it distributes the workload across your finger muscles rather than straining the tendons, and it gives you better control over individual finger movements.
Practice the shape away from the piano first: let your hand hang naturally at your side, then bring it up to the keyboard level. Notice the natural curve your fingers fall into. That’s approximately the shape you want.
Which Part of the Finger Touches the Key?
You should press the keys with the fingertip — the fleshy pad at the very end of the finger, just below the nail. Not the flat of the finger, not the nail itself. The fingertip contact gives you the most precise control and the cleanest tone.
Keep your nails short. Long nails force you to play with the nail rather than the fingertip, which distorts your hand position and reduces control. This is non-negotiable — most serious pianists keep their nails trimmed almost to the quick.
The Thumb: The Most Common Problem
Beginners almost always struggle with the thumb. The two most common issues are: letting the thumb collapse inward so it’s parallel to the keys (it should be at a slight angle, pressing with the tip/side), and letting the thumb stick out or hang off the edge of the keyboard.
Think of the thumb as a fifth finger — it should press keys with the side of its tip, not the flat underside. It naturally rotates slightly compared to your other fingers, but the principle of pressing with the tip rather than the flat surface is the same.
Flat vs. Curved Fingers: What’s the Debate?
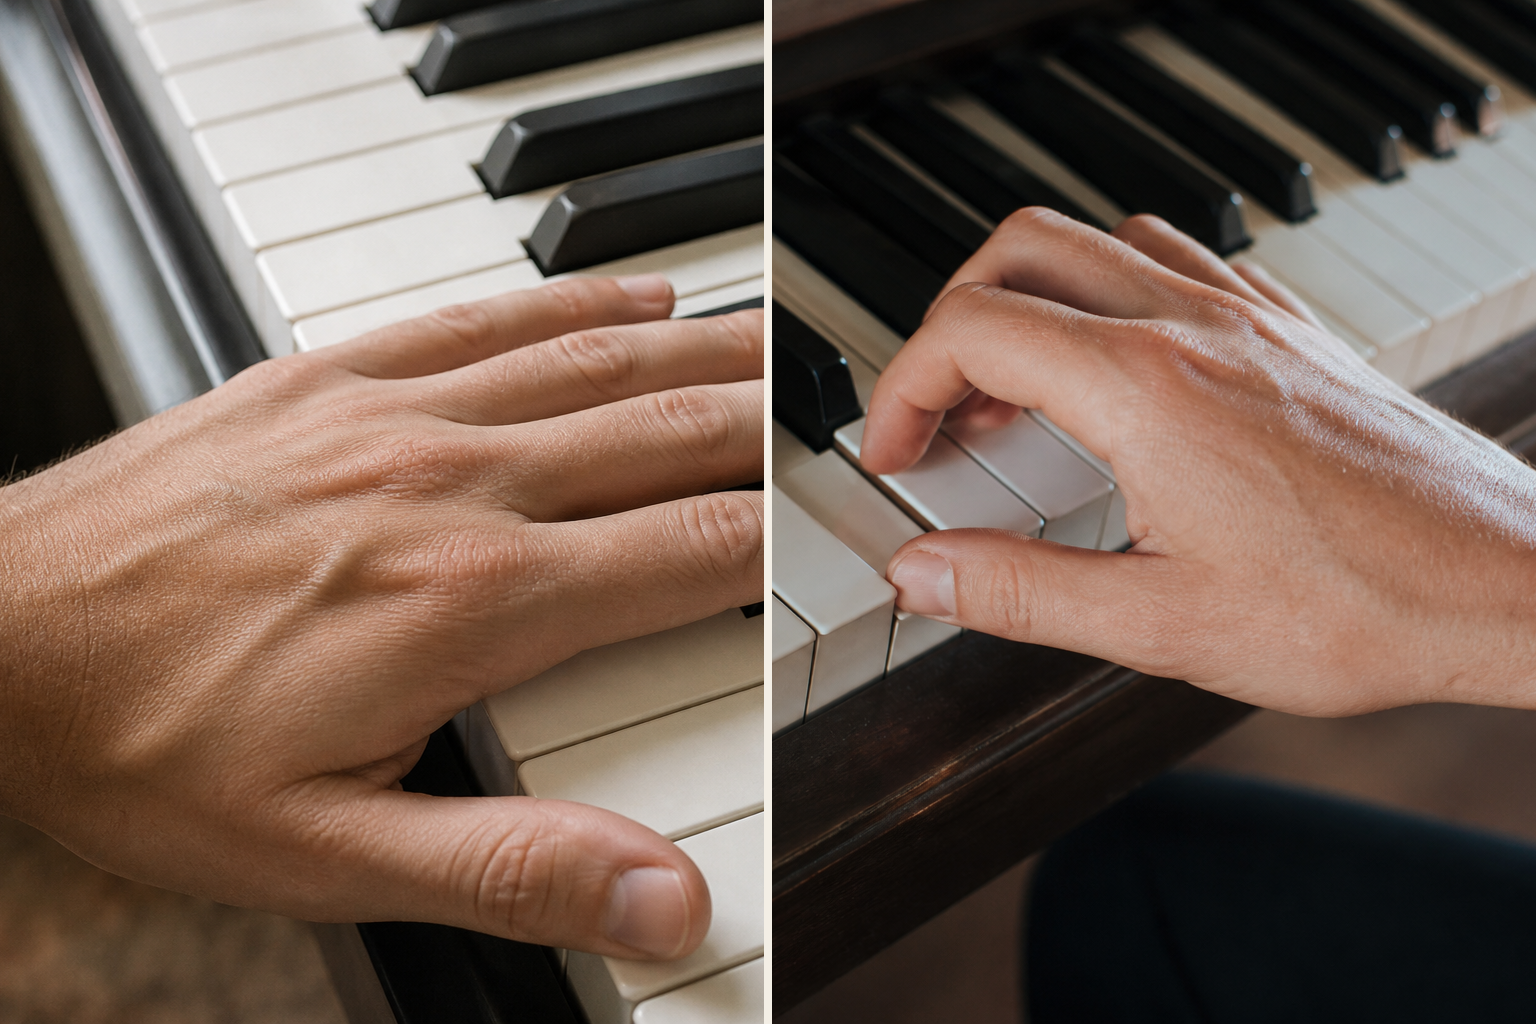
You’ll sometimes hear that flat fingers are fine — that many jazz and pop pianists play with relatively flat fingers. This is true. But for beginners developing technique from scratch, starting with curved fingers and learning flat finger playing later is much easier than doing it in reverse. Curved finger technique translates to all styles; flat finger technique limits your ceiling in classical and technically demanding music.
Start curved. You can always relax into flatter playing once you have control and independence in your fingers.
Wrist Height During Playing
Your wrist should stay roughly level with your knuckles — not drooping below the keys and not raised sharply. A wrist that drops below keyboard level creates strain and limits the ability to transfer weight from arm to fingers. A wrist raised too high (sometimes called “broken wrist position”) similarly interferes with clean technique.
The wrist should also be mobile, not locked. It acts as a shock absorber and guide for larger hand movements across the keyboard. If you’re playing a passage that spans more than an octave, your wrist helps lead the movement rather than your arm doing all the work.
Practising Hand Position Away From the Piano
One effective drill is “air piano” — practising the curved hand position and finger movements on a table or flat surface. Press down with each finger individually while keeping the others lightly elevated. This builds finger independence and helps you internalise the shape without the distraction of making musical sound.
Even five minutes of this daily — on your desk, on your knee while watching TV — accelerates the development of muscle memory in your hands.
The Bottom Line
Correct hand position isn’t about looking elegant — it’s about giving your fingers the mechanical advantage they need to play quickly, accurately, and without strain. Use the egg shape as your guide, press with your fingertips, keep your knuckles elevated, and pay attention to your thumb. Build these habits in your first few months and your technique will develop much faster than if you have to unlearn bad habits later.
If you want a complete piano course built around proper technique from day one, Pianoforall is one of the best options for adult beginners — and our full review covers everything you need to know before buying.
Disclosure: Some links on this page are affiliate links. If you purchase through them, we may earn a small commission at no extra cost to you. We only recommend products we genuinely believe in.